Hard Apple Cider Pie Bread
Apple Pie Flavor in Bread Form
↓ Jump Straight to the Recipe
Watch Cletus's Latest Video
Fresh from the skillet — new cookin' straight from the holler!
 Watch Latest Video →
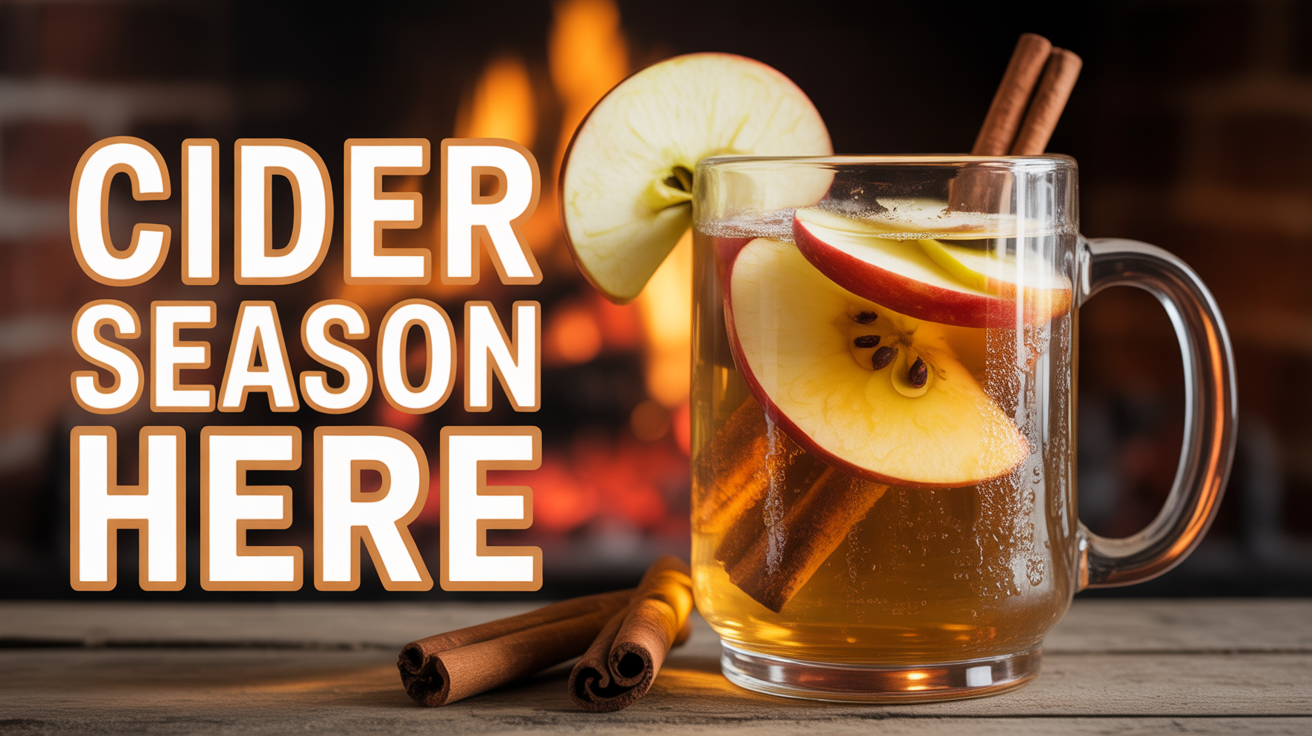
This Hard Apple Cider Pie Bread takes the classic beer bread idea and turns it into a cozy dessert bread that tastes just like apple pie. We swap the beer for hard cider and fold in a can of apple pie filling for big apple chunks and warm spice flavor in every bite.
If you love apple pie but don’t want to mess with crust, this quick bread is for you. My grandma would have loved it — simple, comforting, and full of that old-fashioned fall flavor. At Cletus Cook House, we keep it easy: no fancy mixing, no yeast, and it works great in a loaf pan or hot cast iron skillet.
Ingredients (makes 1 loaf)
- 3 cups all-purpose flour (or self-rising flour — see note below)
- 1 Tbsp baking powder (omit if using self-rising flour)
- 1 tsp salt (omit if using self-rising flour)
- ¼ cup sugar (reduce to 2–3 Tbsp if you want it less sweet — the pie filling adds plenty)
- 1–2 tsp apple pie spice (or just cinnamon)
- 12 oz hard cider (room temperature — crisp varieties work best)
- 1 can (21 oz) apple pie filling (drained slightly; chop large chunks if needed)
- ¼–½ cup melted butter (for topping — essential for that crispy crust)
Optional add-ins: ½ cup chopped walnuts or pecans, ½ cup shredded cheddar cheese (for a sweet-savory twist), pinch of nutmeg or ginger
Note: If using self-rising flour, omit the baking powder and salt.
How to Make Hard Apple Cider Pie Bread
- 1. Preheat your oven to 375°F (190°C). If using a cast iron skillet, place it in the oven for 10–15 minutes to get it nice and hot for crispy edges. Grease your 9x5 loaf pan or the hot skillet well.
- 2. In a large bowl, whisk together the flour, baking powder, salt, sugar, and apple pie spice.
- 3. Drain the apple pie filling slightly (reserve a little syrup in case the batter feels too dry later). Roughly chop any large apple chunks. Stir the pie filling and any optional add-ins into the dry ingredients to coat everything evenly.
- 4. Pour in the 12 oz of room-temperature hard cider all at once. Stir gently with a spoon or spatula just until combined. The batter will be thick and shaggy with visible apple pieces — do not overmix.
- 5. Scrape the batter into the greased pan or hot skillet and smooth the top. Pour the melted butter evenly over the top so it soaks in for flavor and a crispy crust.
- 6. Bake for 45–60 minutes (check starting at 45 minutes). The top should be golden brown and a toothpick inserted in the center (avoiding big apple chunks) should come out clean. If the top browns too fast, tent it with foil.
- 7. Let the bread cool in the pan or skillet for 10–15 minutes, then turn it out onto a rack or serve straight from the pan. Cool another 15–30 minutes before slicing — it’s delicious warm, but slices cleaner once slightly cooled.
Cletus Cook House Tips & Variations
- Cider choice: Pick a dry or semi-dry hard cider rather than a super sweet one so the bread doesn’t get overly sugary.
- Moisture check: If the batter looks too thick after adding the cider, stir in a spoonful or two of the reserved pie filling syrup.
- Pan options: Loaf pan gives neat slices; hot cast iron skillet gives a crispy, cornbread-style crust.
- Serving ideas: Serve warm with butter, a drizzle of honey, or even a side of Microwave Gravy for that sweet-and-savory hillbilly combo. Pairs great with your Buttermilk Biscuits too!
- Storage: Best the day it’s baked. Wrap leftovers tightly and store at room temperature for 1–2 days, or freeze slices for later.
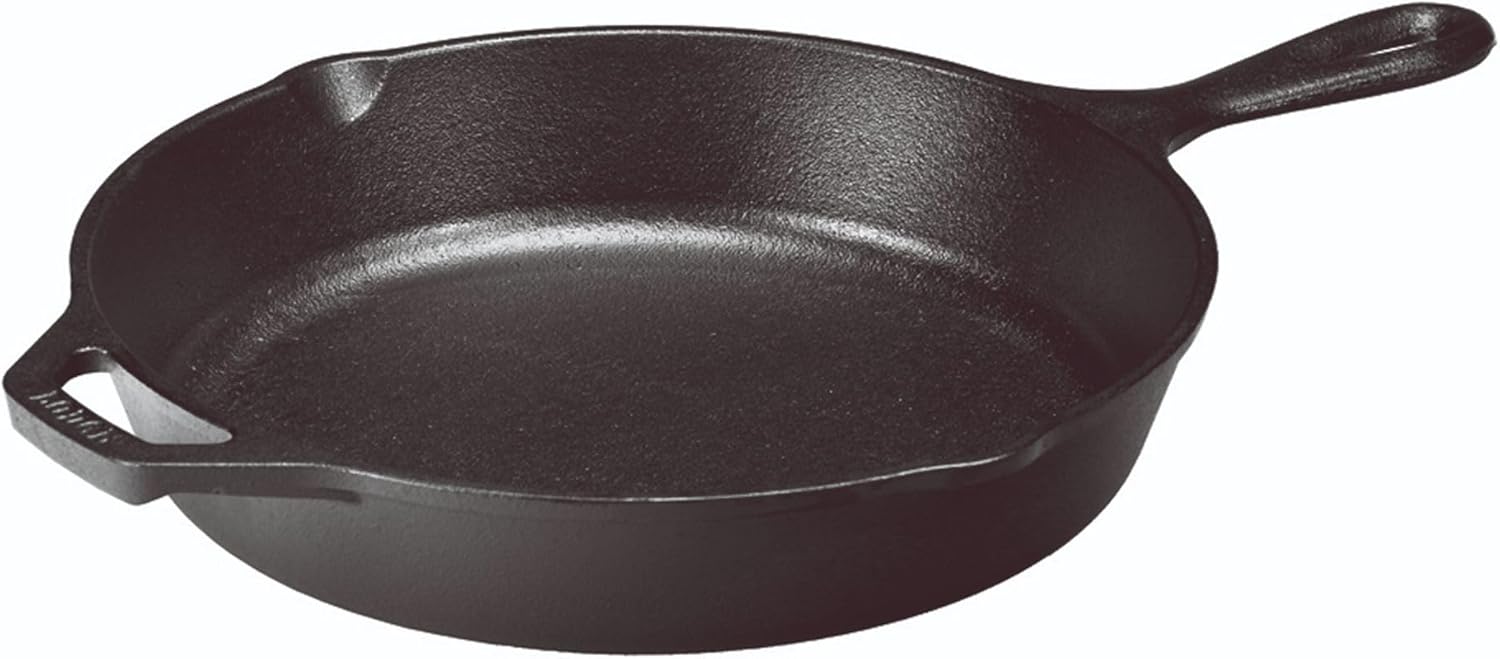
Shop this Cast Iron Skillet on Amazon

As an Amazon Associate I earn from qualifying purchases.
This one’s a cozy keeper — it brings back memories of grandma’s kitchen and turns simple pantry ingredients into something special. Got a recipe request? Visit the Contact page.